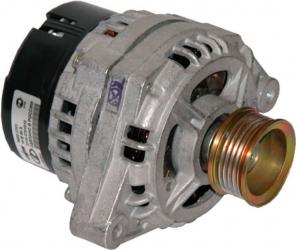
Faulty bearing in the generator can seriously affect the operation of the mechanism. In case of any signs of faults in the generator, replacing the bearing in the VAZ 2110 generator is necessary.
For these purposes, it is necessary to free the generator from the car and to fully replace this part. Replacing the Bearing of the VAZ 2110 generator implies to stock the necessary tools.
Replacement
Tools need to be prepared as follows:
- Ommeter.
- Battery Charger Battery.
- Puller.
- Screwdrivers.
- Passatia.
- A hammer.
- Kerner.
Dismantling
First of all, it is necessary to remove the product from the car.
To carry out this work, you must do the following actions:
- Prepare a car to perform this work.
- The minus battery terminal is disconnected.
- An engine is removed from the engine.
- Disconnect the wires from the generator in the "D" position.
- Extracts the mount from the lugs of the positions "+".
- Removed.
- A bolt fastening the top bracket of the generator is dismantled.
- Removed film.
- The bottom of the fastening nut is located, which must be released.
- Remote bolt remote sleeve.
- The generator (see) holds with hands and is removed from the engine compartment.
Note: After the engine installation process, it is necessary to perform actions to adjust the generator drive belts.
Selling generator
After this operation, the generator must be disassembled to access the bearing. After repairing the bearing, it is necessary to install the generator to the previous place.
To perform this operation, it is enough to use the same items as when the generator is removed, but they must be carried out in the opposite order.
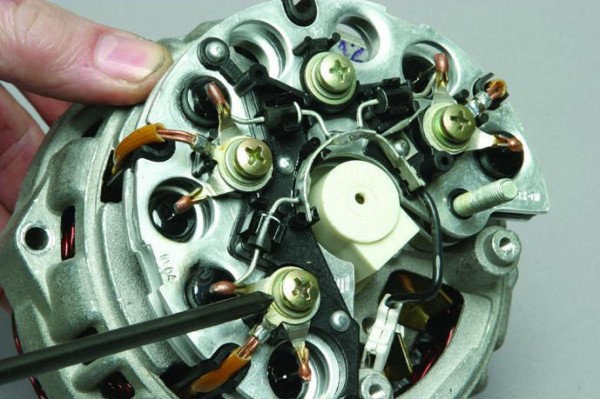
To gain access to the bearing, you must make the following:
- Three fastening springs are pressed, and the mechanism casing is removed.
- The voltage regulator is attached to the generator body with two bolts. They must be unscrewed and postpone.
- Before disconnecting the voltage regulator, you must remove the wires.
- The rectifier block and the stator winding has two fastening bolts. They must be unscrewed.
- Another bolt connects the rectifier block. It also needs to withdraw.
- The wire winding wires must be carefully left to the side. This operation is neat, as the wires are too sensitive and may be damaged.
- The screw fastening of the capacitor is disconnected from the mechanism.
- The rectifier block is disconnected from the generator body along with the condenser.
- Two nuts of the contact bolt turn away.
- The remote and insulating sleeve is performed.
- The bolt is covered from the rectifier block.
- The tip of the capacitor is removed from the bolt.
- A marker is used for marking the front and rear cap of the generator. This will simplify the work process and assembly of the mechanism.
- Front and back cover have four bolts. They must be unscrewed and deleted.
- The caps of the generator are delayed and separated.
- The back cover is dismantled along with the stator winding.
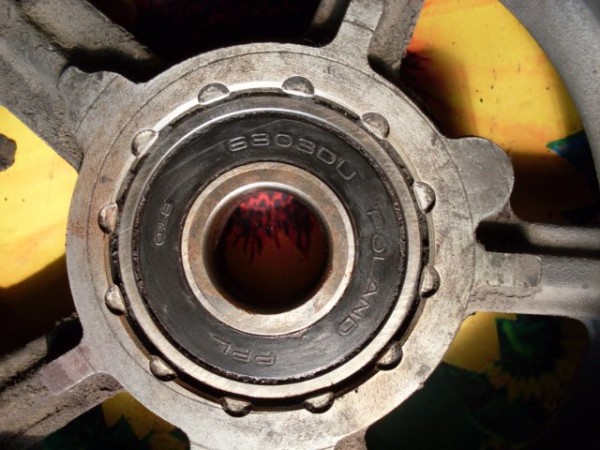
Note: To access the rear bearing, you need to spend squeezing movements from the side towards the outer ring. After that it is easily deleted.
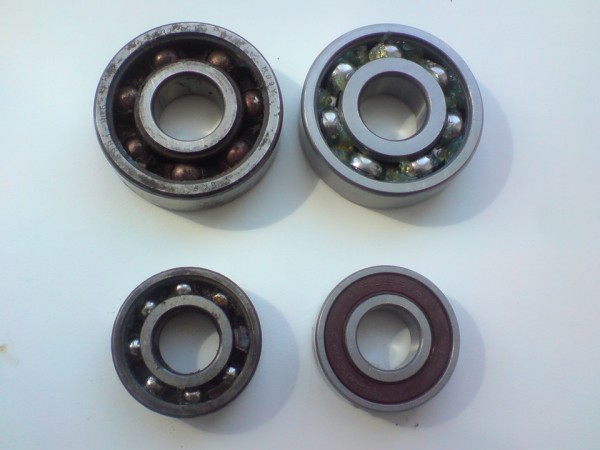
The bearing should not be located. The ring should make light momentum and not to make any strange noise.
If the bearing does not meet the standards of proper operation, it should be replaced with a new one.
- Using the same marker, the position of the stator to the rear lid is marked.
- The stator is removed from the back cover.
Note: To check the front bearing, you need to turn the front cover. At the same time it is necessary to hold the hand with a hand.
In the case of noise that does not correspond to the normal operation of the mechanism, there is a backlash or "jealing", the bearing must be replaced.
At the factories that generators make, they are advised to replace the bearing along with the front lid of the generator. It should be reported that the bearing itself costs significantly cheaper the combinations of it and the lid, it is more expedient and economically replaced only the bearing itself.
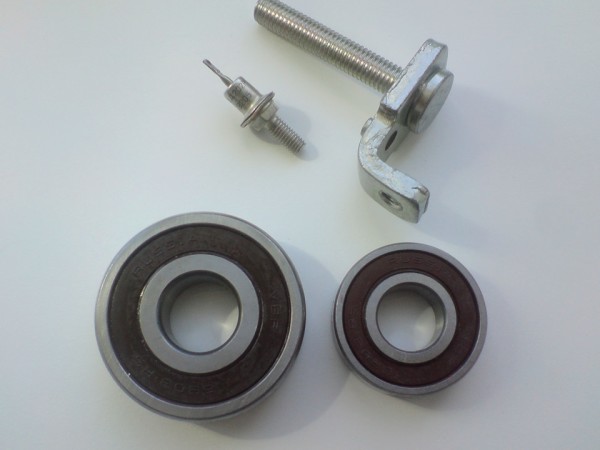
- Using the protort key with the digit "24", you should unscrew the pulley fastening nut. The pulley must be fixed.
- From the shaft removes pulley with a spring and a flat washer.
- Dismantling remote sleeve is carried out.
- The pulley fastening nut is placed on the rag of the rotor shaft. Light blows hammer front bearing disconnected from the rotor.
- To remove the bearing from the generator, the front cover should be clamped in vice. It is better to use vice with soft plates on the lips.
- Bearing is seized from the front cover.
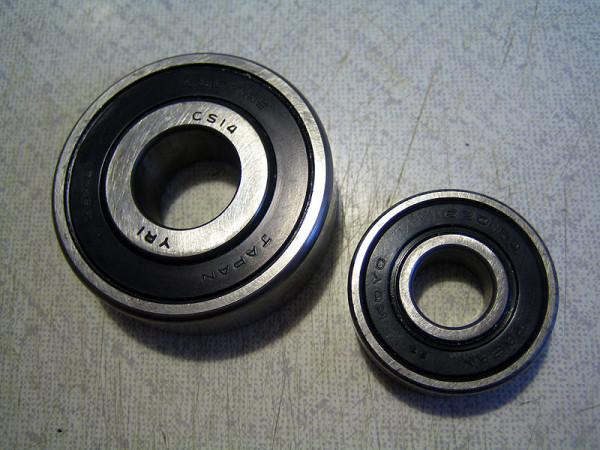
- To replace the rear bearing, the rotor is fixed in vice. Using a universal puller, the bearing is separated from the Rotor shaft.
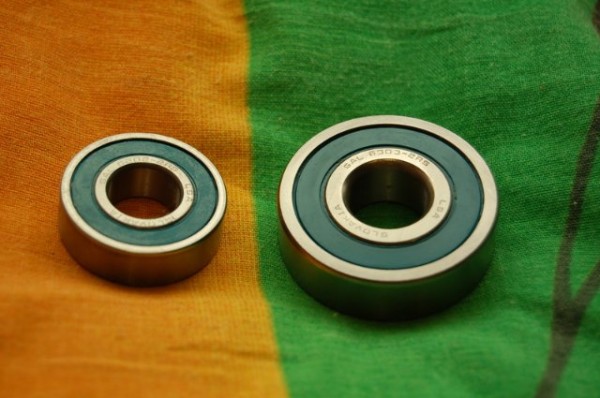
Bearings can be integer, but they will need to soak in machine oil. In the case when the bearings are still damaged, they must be replaced.
Also, it should be reported that their cost is not too large and, in any case, it is better to replace them. You can find them in any specific store.
For a full replacement of the bearing or repair, it is recommended to watch video with detailed process descriptions or photos. This is especially true of those who are going to do everything with their own hands, without the help of specialists, but hoping only to the instructions.
As you know, you can safely save on repair, because the price of these services is still high, as before.
Also on our resource you can learn about other auto models, for example, VAZ 2108.


