It all started with the fact that I purchased the Central Castle Premier 104: The control unit itself includes the control unit, 4 activizers to each kit for screws and pull, end wires, two keyword remote controls with built-in folding key and it's worth it all 1100 p, but I want to say Immediately everyone who was delighted by such a price, it is not final and can change and only towards the increase. Well, let's start.
I installed activators on all doors. Holes for wiring neither in the doorway nor in the racks were not, so I had to do everything yourself. In general, for 2109 there are standard S-shaped corrugated tubes, but I did not use them because of a decent diameter of about 20mm. Having a drill on only 13mm opted his choice on the tubes from the VAZ 2110. After a thorough study of the door design, it turned out that they had already ready-made holes for regular activators.
They also attended the back door. Availability of holes made me very happy, however, after a long and painful study of the castle and finding a place where to mount the craving from the activator, I went to the store to buy a new castle. The old one did not suit me in an effort, which had to apply to switch it (was afraid that the activator would not pull). I spent another 600 rubles on the castles not in vain: it turned out that they have constructive differences.

An extended lever with an eye for a regular activator. Although it is possible not to change the locks and in any other way to fasten the activator, but I wanted to be beautiful and reliable. I want to advise before you start replacing the locks to try unscrew all the bolts (I unscrewed 2 out of 8, and since I did not have a shock screwdriver, I had to drill and replace the new one) You may have to buy them. To connect the thrust with an eye of the castle lever in this very eye, you need to score something or insert to reduce its diameter. I advised me on the market with tire-plastic knaps with a cone-shaped sharpening and the chamfer. It came fine, unfortunately the photo did not have time to do.
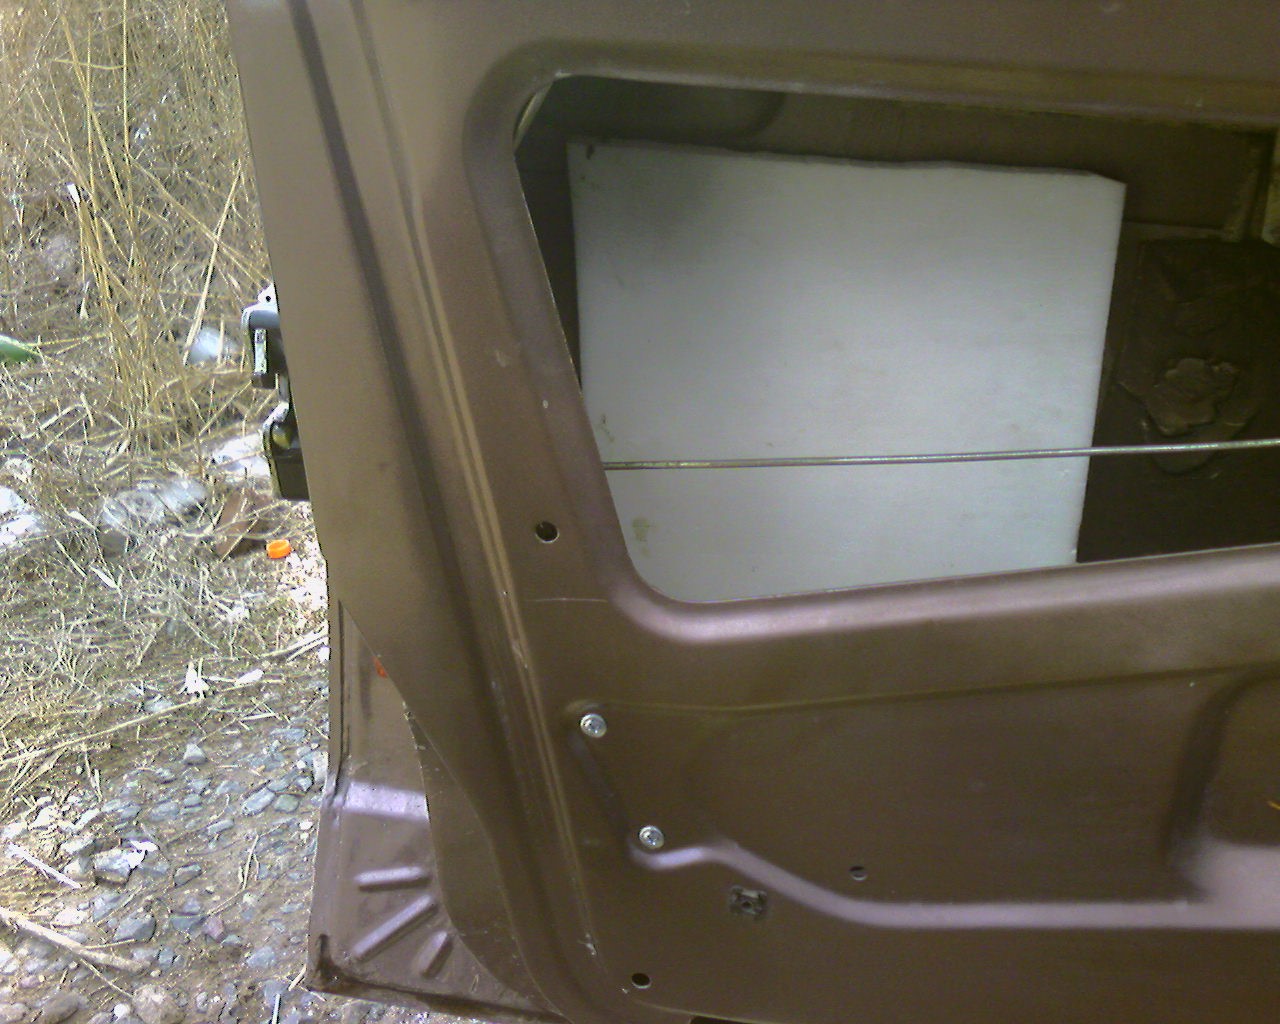
In the front door, drill a hole under the protrusion (by the way, as I understood the door, too, there are different designs). It is not difficult to flourish, but then you will have to do, under the first layer of metal, I bump on the second layer of metal, the drill takes out badly and constantly slides, breaking the first hole you can break through the bandy or still try the drill (on the first breakdown on the second drill it turned out) . Next, drills the hole in the rack, there are no difficulties here.


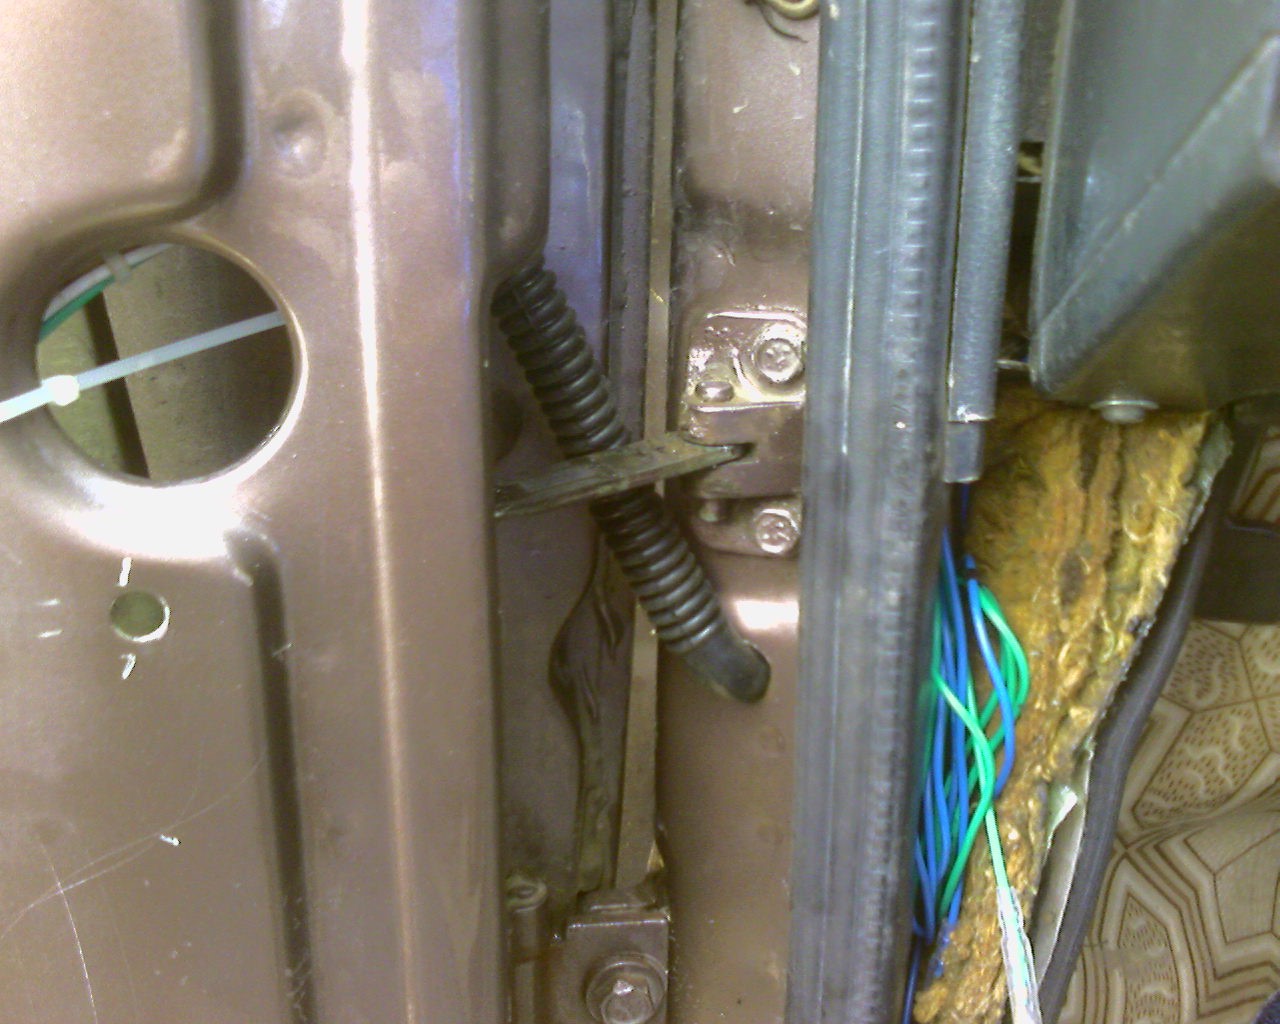
This location of the holes is not chosen by chance, from the experience of people who drilled holes in the racks, I realized that if you drift above the limiter, it would be possible to enter the alleged partition in the rack and then the wires will have to be displayed into the upper processing hole, and for this you have to remove the panel. After the drillings, do not forget to cry around the edges of the holes to protect against corrosion (I used the transparent varnish). With the back door, it's easier: there I had to drill only a hole in the rack, and on the door of the wire it was possible to push into the gap near the limiter.

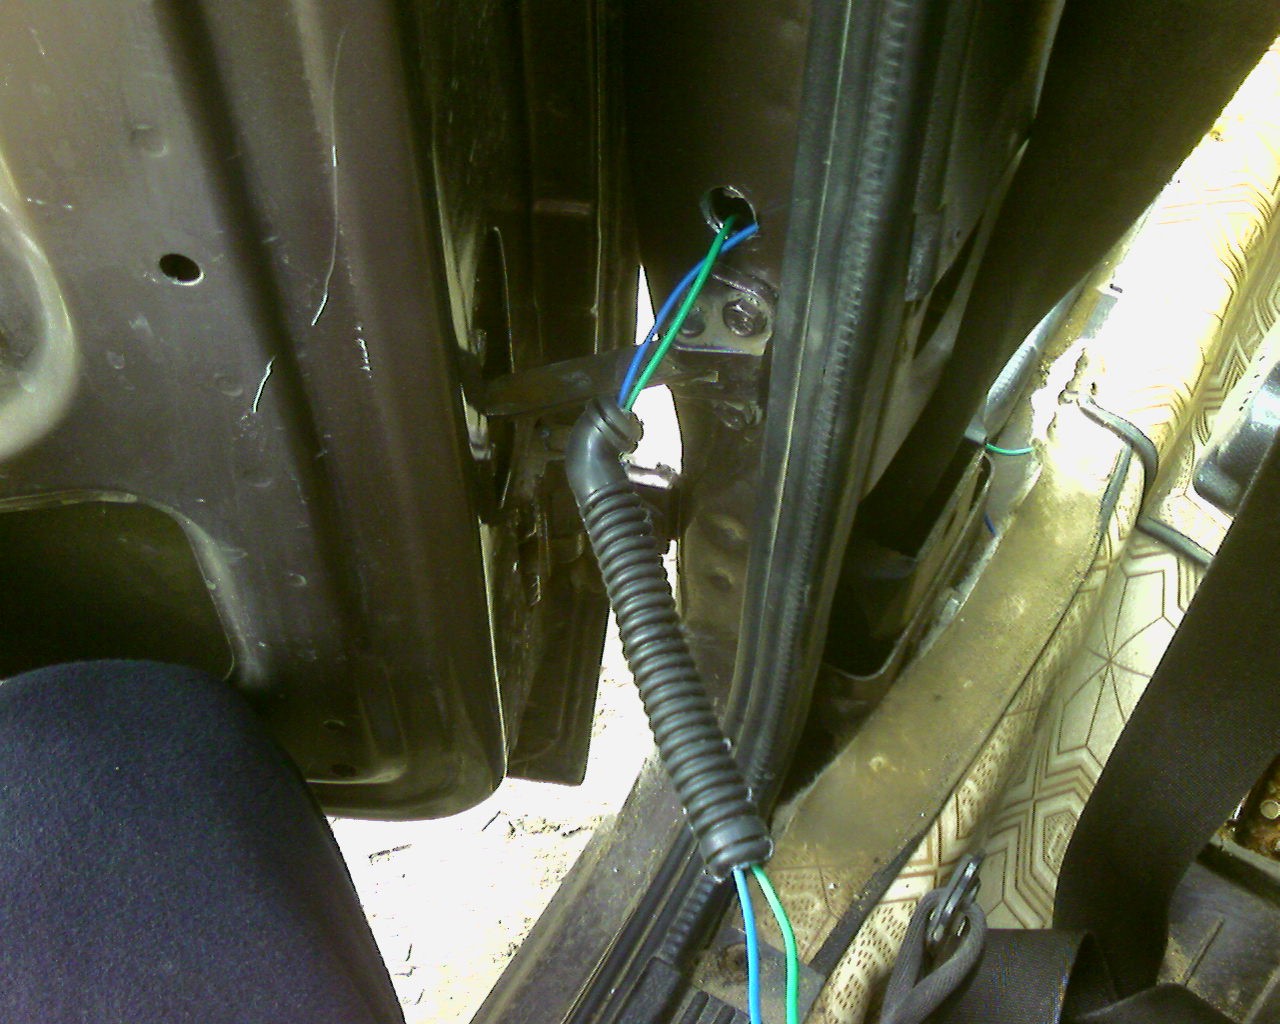


On how to lay the wiring to write will not become and so, probably, everything is clear. Surprisingly the length of the wires of the running in the kit was enough to have a shepherd in a tip. Now installing activators. There is nothing complicated here, there is no holes for fastening, the ear on the lever, the activator traction and the activator axis are on the same line, which may be easier. We screw the activator, cut the activator thrust into two parts and make the craving for the lock connect two thrust through the clamp (running in the kit) tighten the length tighten the strongest.


The control unit I placed under the left speaker panel. Yes, I even advise on the rear doors from the knee of the blocker to remove this spring.

As a result, all the pleasure cost me in 2000r. And 3 days of work (well, this is to know the topic - all for the first time).


