I want to say right away that I will not describe in detail all the repair procedures for this device, but I will give the main ones that quite often have to be performed by the owners of the VAZ 2107. I'll start with the necessary tools that will be needed to repair and disassemble the generator on the "classic":
- Key for 19 - a ring is more convenient
- Socket heads for 8 and 10
- Extension
- Hammer
Now, below I will describe in more detail about the disassembly procedure, as well as dismantle each part separately.
Replacing brushes on the generator
In fact, this type of repair is so simple that I will not dwell on this in this article. But if anyone needs detailed information, then you can familiarize yourself with the details.
Complete disassembly into parts
First, we unscrew the 4 nuts that are on the back cover of the device, and they are very clearly visible in the bottom photo:
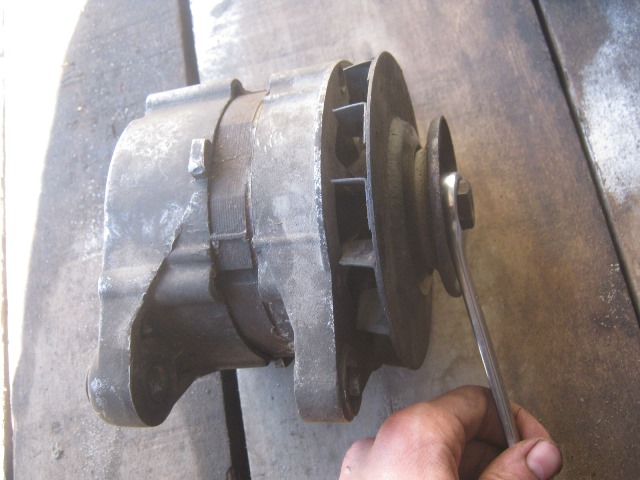
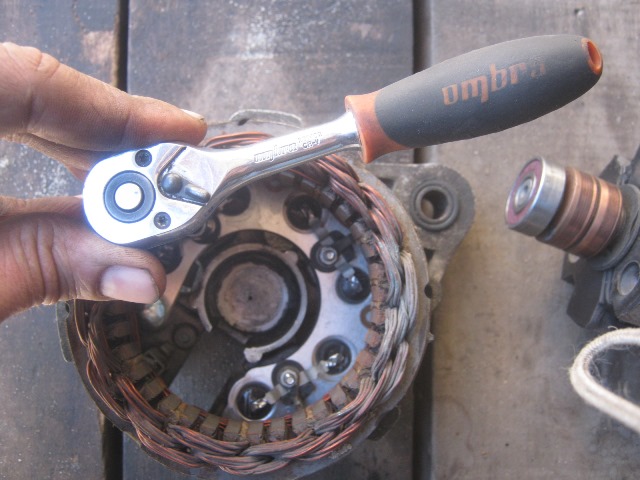
Then we try to unscrew the nut securing the pulley with a 19 key. Usually, it is very tightly tightened and on the removed generator it is quite problematic to do this if you do not clamp it in a vice. But there is a way out - you can press on the bolts from the reverse side, where we unscrewed the nuts, so that they rest against the impeller blades, thereby fixing it in a stationary state. Further, you can try to unscrew this nut, holding the generator in a stationary state.
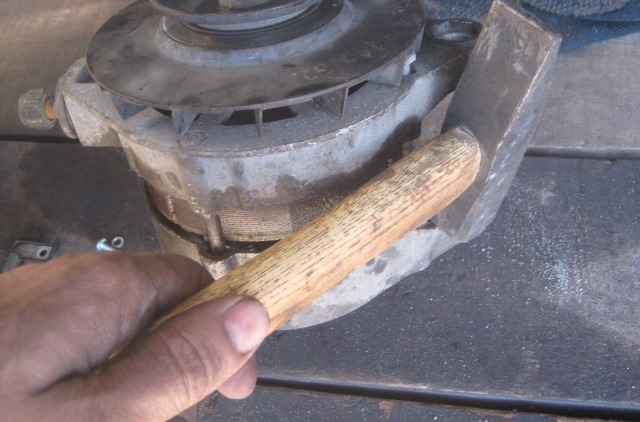
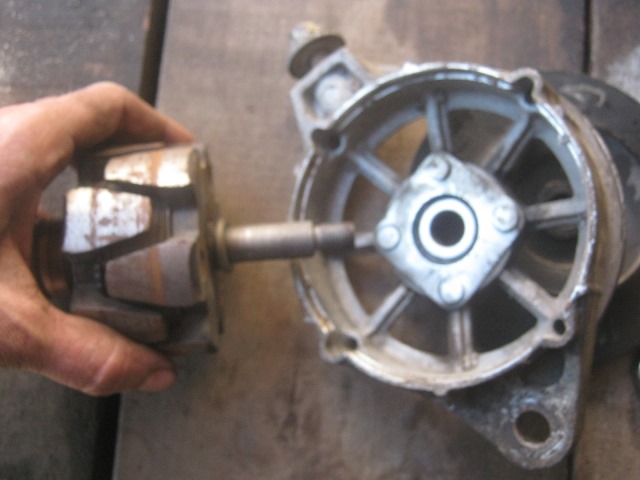
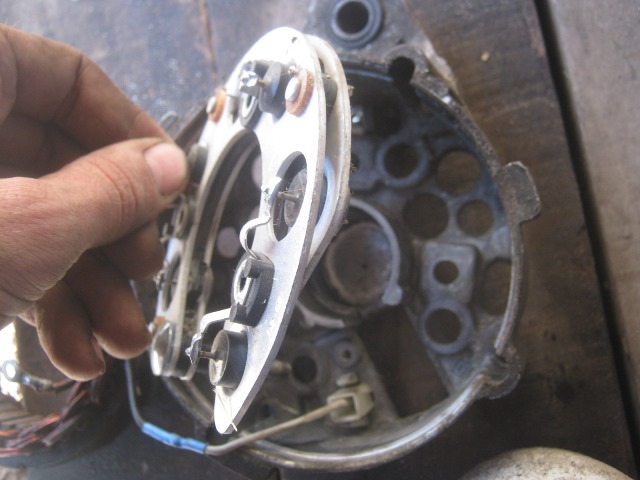
Now we take a hammer and, with light taps, try to separate the generator into two parts, as is clearly demonstrated in the photo below:
As a result, you should get something like the following:
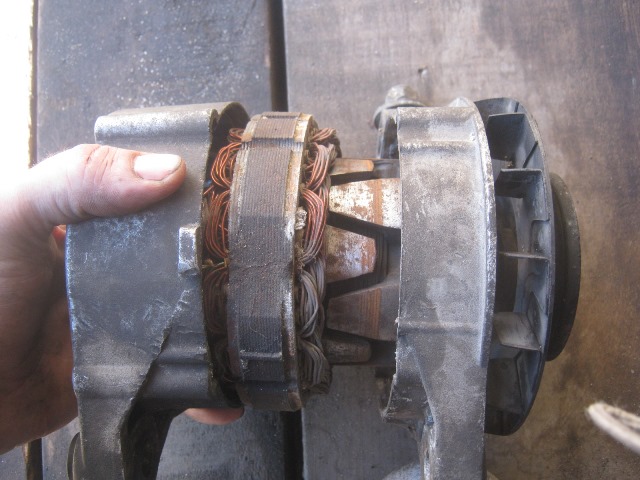
As you can see for yourself, there will be a rotor in one part, and a stator (winding) in the other.
Removing and Replacing the Rotor
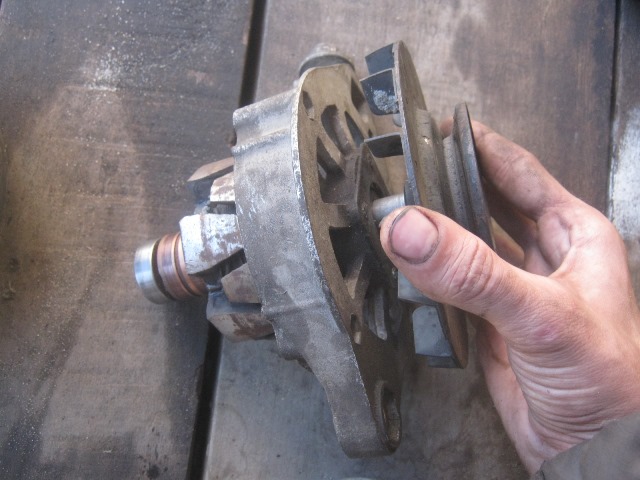
It can be removed very simply, first we remove the pulley, removing it from the shaft:
Then we take out the key:
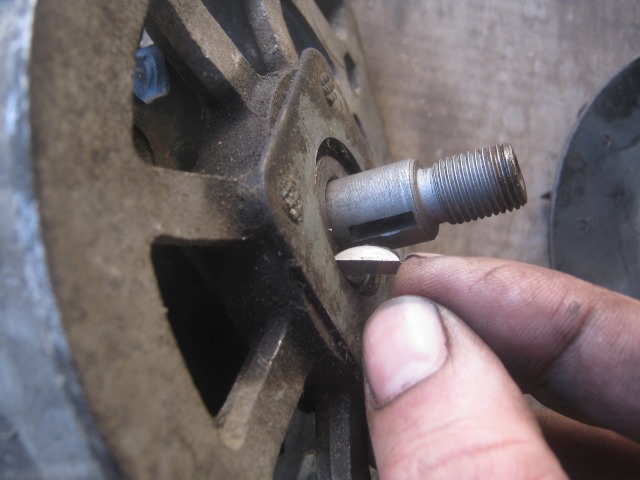
And now you can easily remove the rotor of the VAZ 2107 generator, since it is easily released from the case:
Removing the winding (stator)
To do this, unscrew three nuts from the inside with the head, as shown in the picture:
And after that, the stator can be removed without problems, since it is disconnected from the diode bridge:
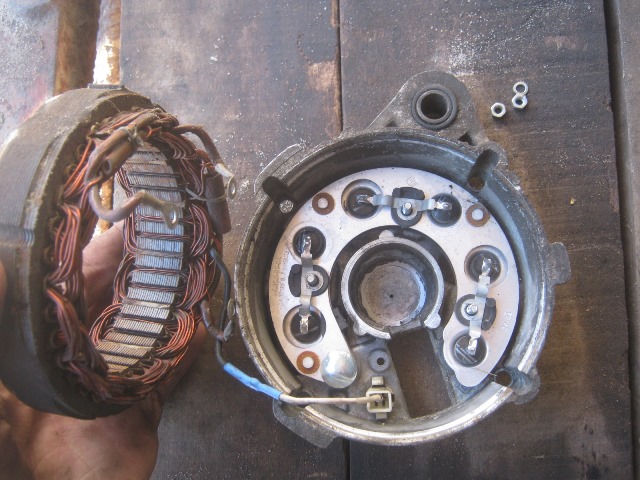
If it needs to be replaced and you need to remove it completely, then of course it will be necessary to disconnect the plug with the wiring, which is visible in the top photo.
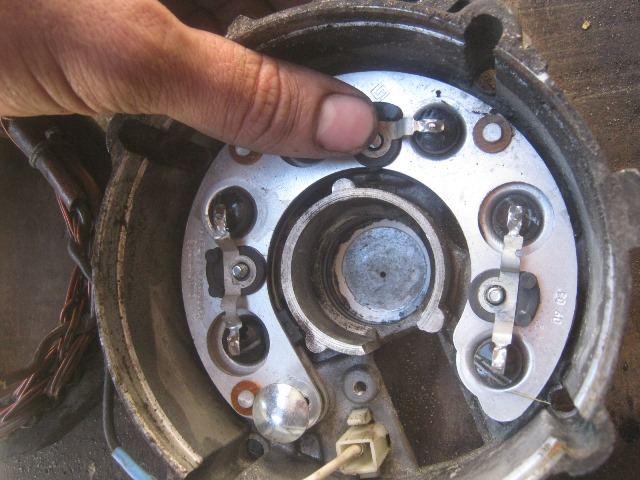
About replacing the diode bridge (rectifier unit)
Since after removing the winding, the diode bridge is practically free, there is almost nothing to say about its replacement. The only thing to do is to push the bolts from the inside so that they pop out from the outside:
And all the diode bridge is completely removed and you can replace it:
After carrying out the required repair of your generator, we assemble it in the reverse order and do not forget to connect all the winding wires correctly.


