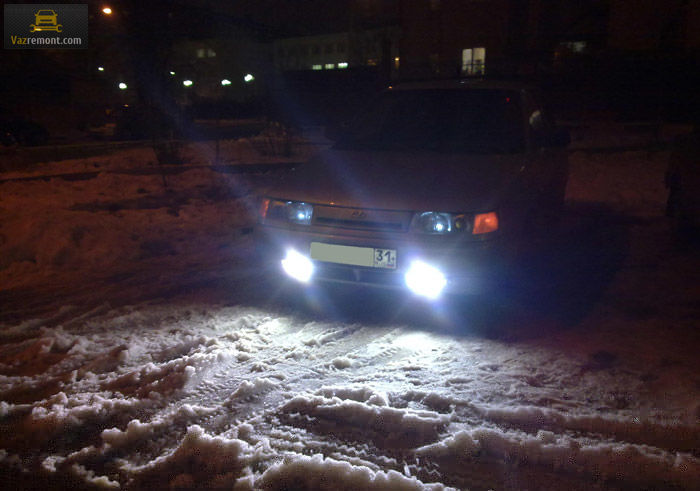
VAZ 2110 models of the last release received fog lights, but most cars remained without this useful element. PTF significantly increases safety on the road, because the driver feels confidently in foggy weather. As a result, less duct. Installation of fog cattle can be carried out both in the automotive workshop and on their own. Some motorists prefer to upgrade optics with xenon, after the installation of which the glow becomes even more effectively.
When choosing a PTF set, you must be repelled from the torpedo. If it is an euro sample, then the kit for model 2115 is suitable. For the old torpedo, the standard set of VAZ 2110 is suitable.
So, fog drawers have the following advantages:
- Flat light stream, which spreads more height and steles above the road surface;
- Improved visibility of marking and curb due to the width of PTF;
- The light from the fog lamps does not blind oncoming drivers, but at the same time the car is perfectly visible to other road users.
Required tools and elements
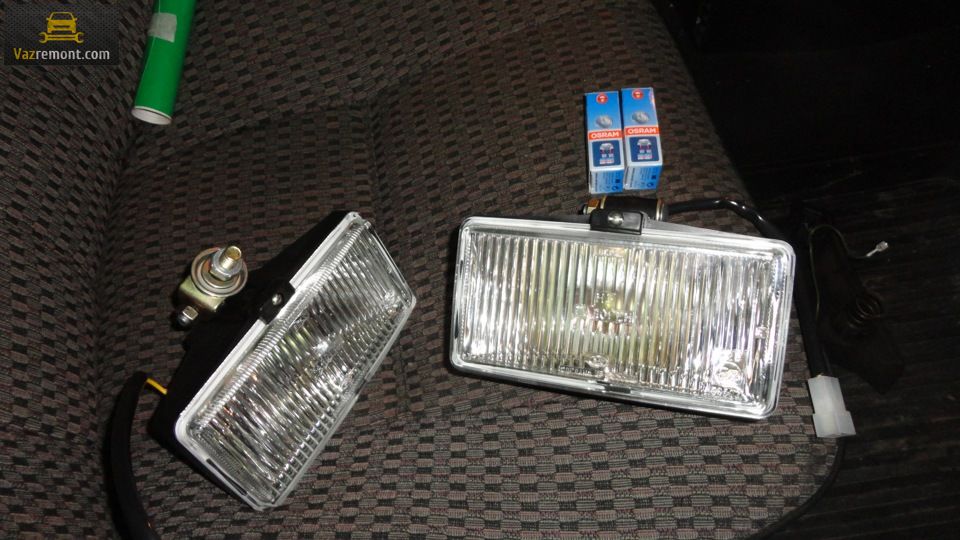
Before buying everything you need to decide on the color. The owners of the VAZ 2110 today uses white optics today, but you can find the classic yellow. Now to purchase: Someone prefers to take a ready-made set, which includes wiring, others choose the details separately. The second option is not only cheaper, but also provides more installation options.
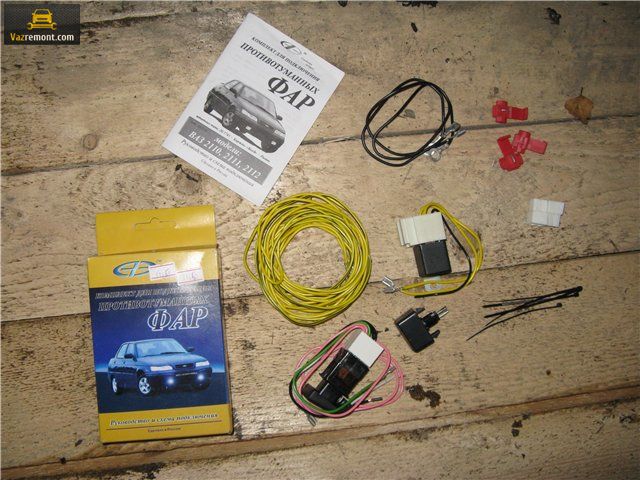
To work, we will need:
- A set of headlights;
- Key, as well as indication;
- Relay;
- Plastic pads;
- Frames of headlights;
- Terminals with the name "Dad / Mom. It is recommended to buy separately, without wiring included;
- Terminal, which will go to "Mass";
- Wiring.
Wires VAZ 2110 need to pay special attention. It is recommended to go for them to a specialized electronics store. We need a variant with two copper cores, as well as with double insulation. As for the section, it is necessary to repel from the lamp power. If the power indicator is high, it is better to take 0.75 millimeters. With conventional power, the wires are 0.5 mm.
Connection process
Connecting fog begins with the definition of their installation. If the car is quite old, then there will be no regular place on the body - you will have to be mounted under the bumper. The scheme should go along with the kit - we will perform work on it. If there are skills in working with electrical engineering, the scheme can be changed, because you need to take care of adjustment.
The installation is as follows:
- First of all, we must pave wiring to fog. The process is performed under the hood. You can make a gasket with parallel regular wires.
- Power supply to the button to the torpedo. The factory scheme suggests that the connections are performed from the fuse on the overall lights on the right.
Alternatively, you can take power from the output from the ignition lock or from the button responsible for the lighting. Taking advantage of this method, new headlights will work only when the ignition is running. If you wish, you can go on a regular scheme, that is, taking power to PTF with dimensions. Then you need to closely monitor the inclusion and turning off the fog, so as not to plant the battery.
- Final stage - connection of optics with a plug.
If everything is done according to the scheme, the light should already appear. It remains to be adjusted. With the perfect version of the PTF should look a little down, while lighting and sideline, and the road. In this case, they will not make other motorists.
Installing xenon
It is very important that the heads of the letter "D" are on the heads themselves - it is she says that Xenon can be inserted into the headlights. If there is a letter "H", then problems with the authorities may arise. Before installing xenon in the VAZ 2110, you must remove the standard block lamps. Dismantling and installing xenon are performed according to the following scheme:
- Remove the minus terminal from the battery.
- All headlight connectors must be disabled.
- Gently unscrew the bolts that fastening the optics unit.
- We dismantle the radiator grille.
- There will be a bolt from below, which is attached to the bottom of the headlight. We seem to the lining and completely remove it.
- Taking advantage of the 10th key, unscrew the nut fastening the block to the bracket.
- After that, the block can be removed.
- The next step will be the turning of the retainer, which refers to the cylinder of the hydrocorrector. Now fully remove it.
- Before installing, it is necessary to remove the rotation pointer - it is kept several bolts.
In order not to have problems with the law, it is better to put the legal module of xenon. Alternatively, you can take headlights from Hella. The model is suitable for both the first and second generation. They are denoted by the name of Lens G2, the BMW E60 is installed on the headlights, so there can be no questions to quality.
Useful videos on the topic
The most interesting


