So in this article I will describe the generator bulkhead. It will be about Generator 37.3701 Although everything is practically identical on the M-222 generator and this article is suitable for him with some adjustments. I bought for replacement: 1. Diode bridge - 190r 2. Condenser generator - 15P 3. Bearings - I took Andycar - 65r 4. Four nuts on 8. Relays regulator on the generator I have a new one so I decided not to change it. We also need a universal puller (I personally used the puller of the thrust instead, it turned out to be very convenient, but tickling with the bearing). It is very desirable to have a brush for metal I bought a set of three brushes and a skirt.
So the generator himself
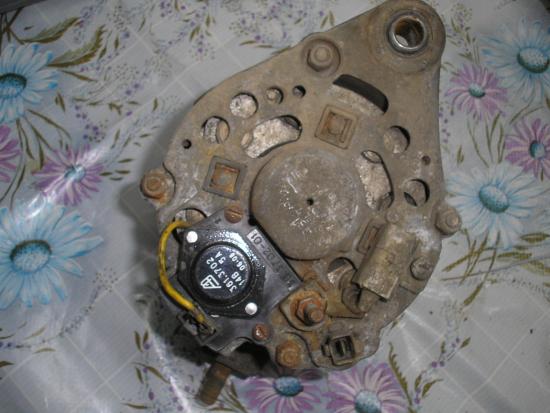
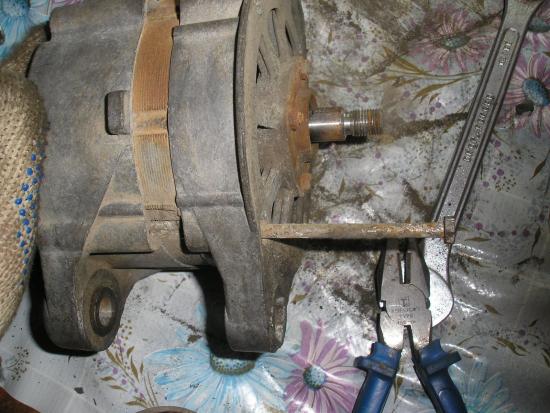
Clean the generator with a brush from dirt. And unscrew the pulley nut. We put the generator so that the pulley rested into the floor, we put the key on the nut on 19 and holding the pulley from turning with one hand, we apply strong and sharp blows with a hammer. Pulley of course it will turn on but also the nut will eventually begin to unscrew, I pounded so minutes 2-3

The key on 10 unscrewing four bolts and remove the studs of a tightening generator.
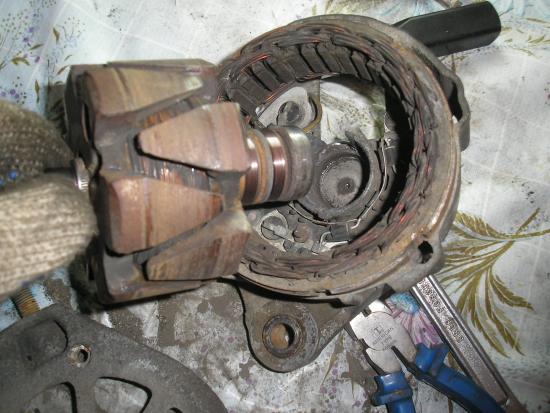
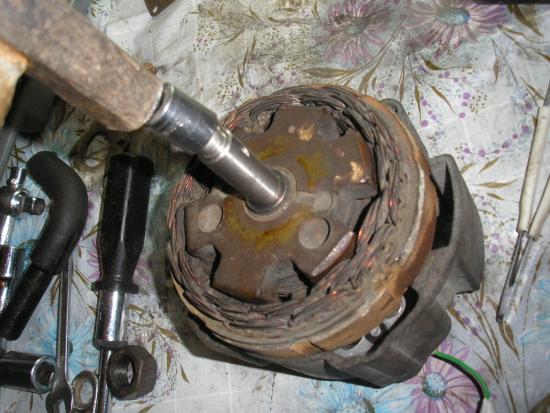
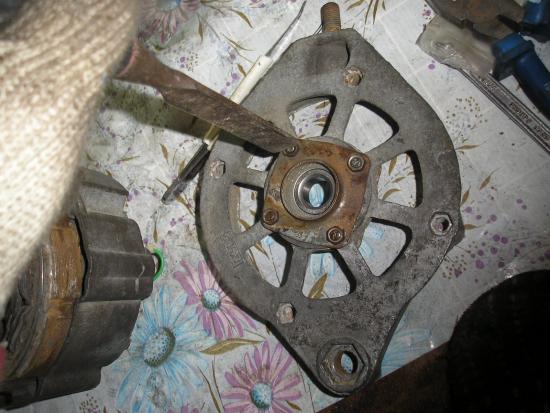
further, unfortunately, several photos were lost: (but in words I will explain. In the photo above the shaft, you can see a key that holds the pulley from turning. So with the help of a chisel, you need to knock out this key. We put the generator with the shaft at the top. From the top to the bottom put the chisel And the hammers knock you out. Having shot it off the front cover of the generator. If there is a tight raising the generator on the weight, we light on the ball with a hammer. The cover will be easily removed. Next, remove the regulator with a relay generator. And in through the hole under the relay, you knocked the rotor to the rotor.
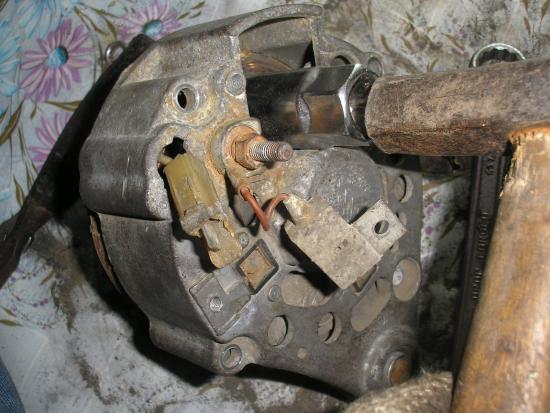
We apply a few strong blows, we turn the rotor, we apply a few more blows and so on the circle until you choose.
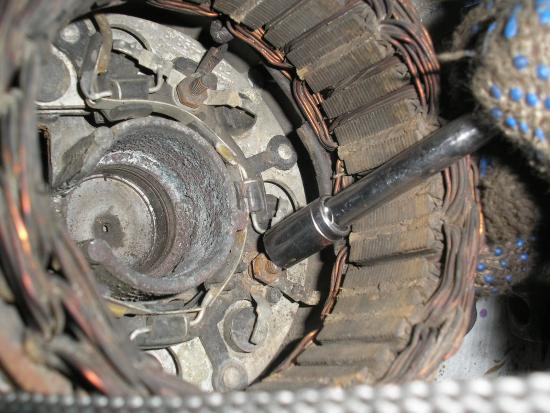
And remove the stator. To remove it to take it a little pouring the joints of WD-40 and the hammer with light blows gently knock him out. After removing the stator, we take a diode bridge by unscrewing the condenser if you have not yet done. Next, you need to extract the rear bearing of the rotor, it is better to do this by a versatile puller, but I recreased by a steering puller.

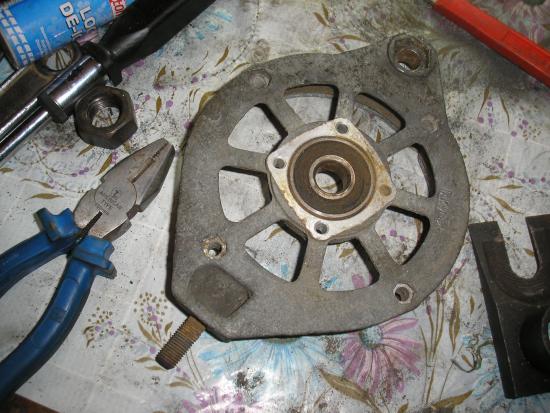
Next, take the front cover and unscrew the tightening plates. Bolts there are completed and nuts may be damaged when unscrewed (for this we also took 4 nuts on 8), but they remained for me. When unscrewed, again, the bolts fall out of the grooves and begin to scroll, so they hold them on the other side. Remove the plates and spend the bearing through the mandrel
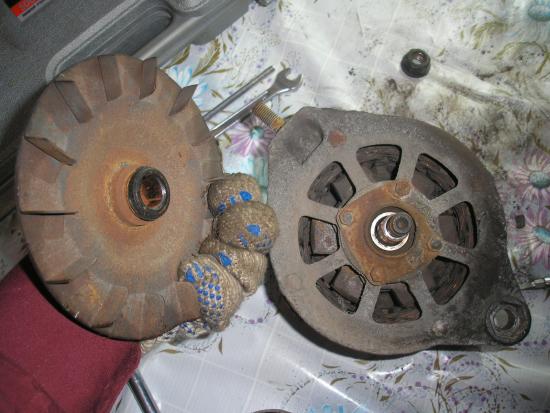
Well, the generator is completely disassembled, clean everything with a brush in the metal, as to clean the knife and the knife and the skin, simply, they are more convenient to scrape the large dirt sediments. New spare parts. Condenser, two bearings and a diode bridge, you can have a regulator here in addition to the relay, but I have it so new.
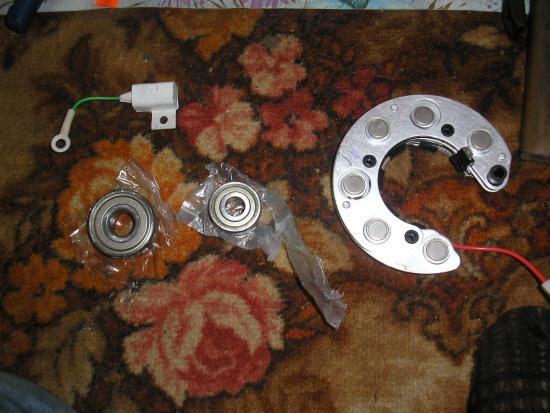
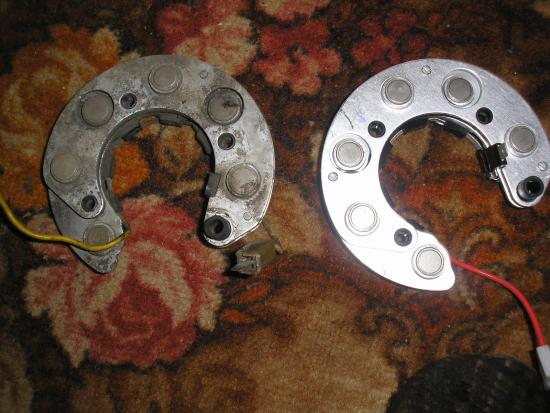
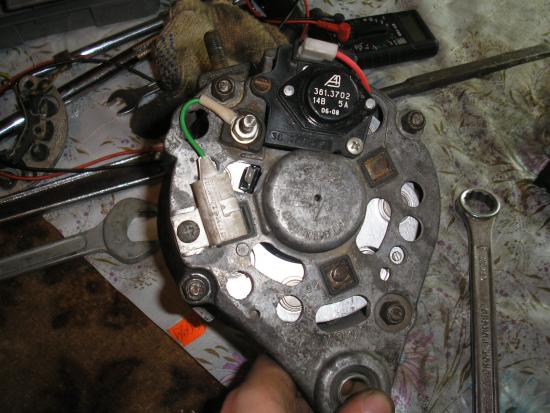
By the way, pay attention from 1996 changed a contact point of 61. I have an old diode bridge was an old sample. The difference is visible in the photo, on the old contact on the wire and in the new one is sewn into the diode bridge.
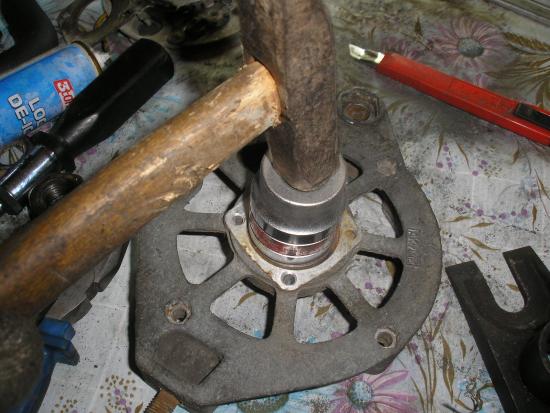
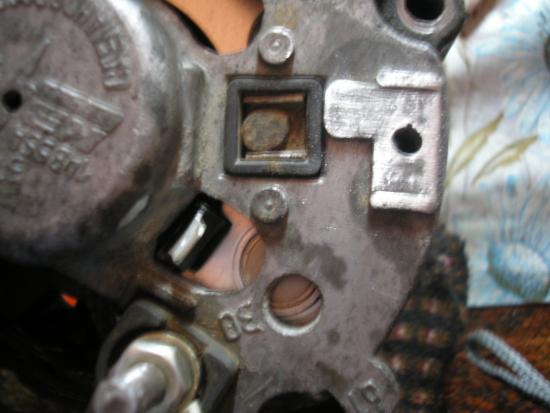
Bearings will prescribe back through the mandrel, there is one very important point - a pressing rear bearing on the rotor of the mandrel should be put only on the inner ring of the bearing, and pressing the front only on the outer. Otherwise you can simply damage the bearing when pressing. Collect the generator in the reverse order. If you had a diode bridge of an old sample, then the output 61 will be bad in the hole in the back cover, I had to modify the hole with a file
By the way, I advise you to cross the capacitor's plant plane for better contact (it can be seen in the photo above. The rotor is scored back with a hammer impact, in order not to damage the thread, I put on the head head.
When collecting the front bearing linings, do not forget to correct the bolts of the chisel.
Well, here is the generator again assembled
If any questions are discussing on the forum


