Immediately, we note that the Middle Light on the VAZ 2110 may be two types - the first option assumes a combined device in which the spirals are located and at the closest, and the long-range set, and the second is a separate item, this solution is implemented in later models. Works are not very different, so this instruction will suit all car owners. Consider, for what reasons a malfunction may occur and how it can be eliminated so that you understand the question even better.
The reasons why Middle Light does not work
To begin with, we will understand because of what faults will not work lighting:
| Lamp | Middle Lights on the VAZ 2110 may fail for different reasons, it can be the exhaustion of the work resource, vibration that causes a spiral gap, moisture that falls inside the frame and much more. Check it is very simple: you need to get the lamp and inspect the spiral for integrity |
| Relay | For the Middle Light in the mounting unit corresponds to a separate relay, its location is shown in the diagram below. Check is to inspect the contacts (they can oxidize) if it did not help, then the only option is to replace, do it yourself with your own hands, you need to get a defective node and install a new |
| Switches | The cabin has a button that includes a system and a steering switch, with which modes are changed. Sometimes these items also fail, so they also need to check them if other nodes are good |
| Wiring | Another reason that may cause the lack of light. The check is to inspect the connecting pads on the subject of contact and the mass from each headlight. To find a specific place of damage, you need to use a special tester |

As for the fuses (in the photo at the top), then the second left in the top row we need in the top row is responsible for the close light of the left headlight, and in the lower right.
Description of the workflow
Consider two options - when only the replacement of the Middle Light lamp on the VAZ 2110 is needed and when it is necessary to remove the entire design for repair and maintenance.
Replacement lamp
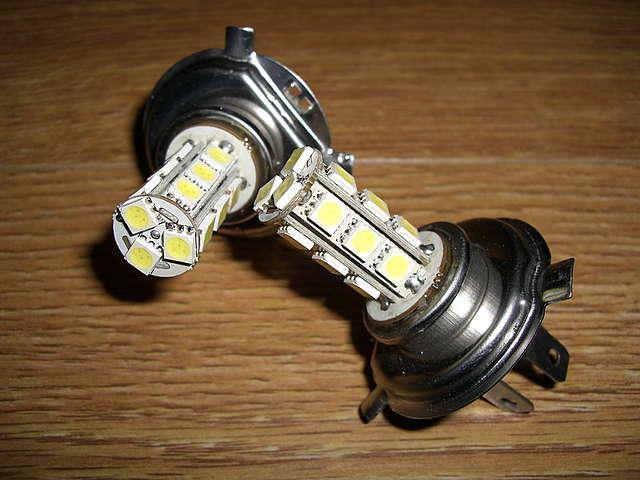
To carry out this process, you do not need any additional tool, it is enough to purchase new lamps, their type H1 60/55 watts for combined options and H7 55 watts for individual structures.
Important!
It is better to change the elements immediately in two headlights, as the light may differ, and motorists noticed that if one new lamp is put, the second fails much faster.
The workflow is made as follows:
- First of all, it is necessary to open the hood and fix itSince access to the housing of the elements is not difficult to do, you do not have to additionally disassemble any systems in order to increase the convenience of the process. The only thing - on the right side you need to remove the battery.
- We recommend wear glovesSince under the hood a lot of protruding elements that you can scratch your hands.
- Before starting work, it is mandatory to remove the terminal from the batteryThis is necessary when conducting any work with the electrical equipment of the car to prevent damage to the system and avoid electric shock.
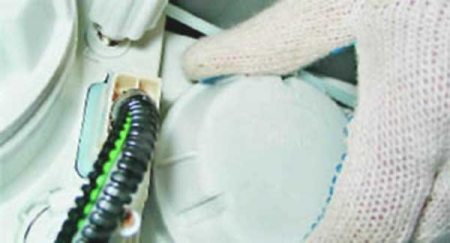
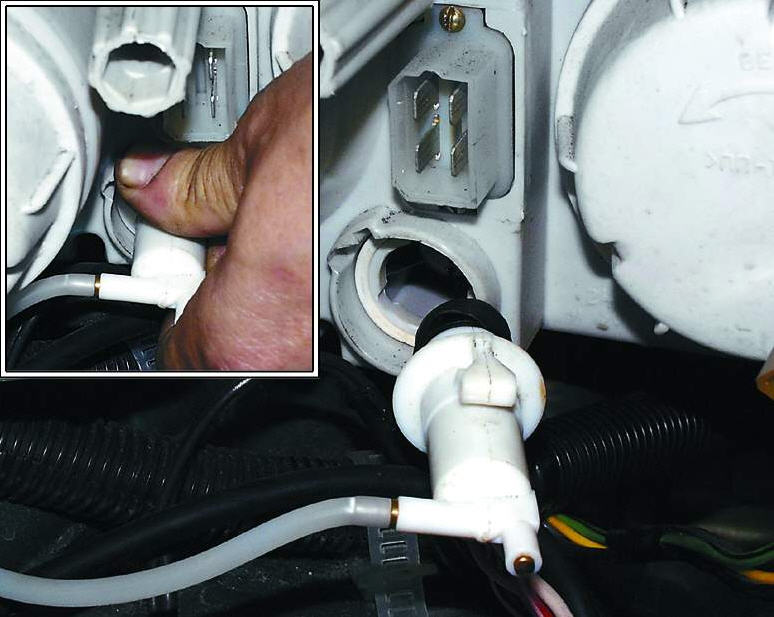
- Replacing Middle Light Bulb on VAZ 2110 begins with a plastic plug removallocated outside the installation site of the lamp we need. Everything is very simple and quickly: carefully turn the element counterclockwise about half turns and remove it.
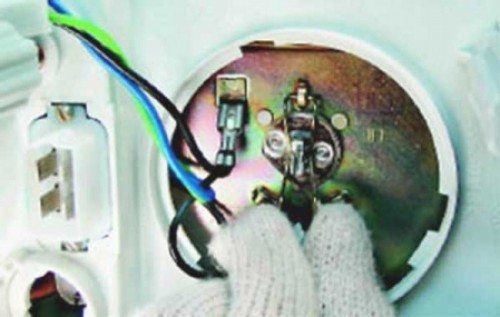
- Next you need to remove the connecting blockThis is also done very simple: click on the clamps on the sides of the case and pull the node from the headlight. It is impossible, since you can disrupt the contacts, and the clamps will not release the chip from the landing place. After the removal, move the knot to the side so that he does not interfere with you in the future.
- After that, you need to gently deduct the lockFor this, just click on it on both sides and output with hooks on the housing. Everything is very simple, and you can easily figure out how to do it when you see the design of the person.
- When all the works described above are performed, it remains only to remove the lamp from the case and replace it with a new. At the same time, always hold it for the base, to touch the glass part is strictly prohibited, since fat from the skin is the cause of overheating of individual sections and quickly leaving the element of the system.
- Assembly is made in reverse orderAfter that, the same process is repeated with the second headlight, usually all work takes no more than half an hour.
Removing the headlights
Sometimes it is required to repair individual elements or replacing the headlights of the whole, there are also cases when the connector is not removed and it is better to remove the entire design to dismantle it.
The process is performed in the following sequence:
- Initially, you need to remove the grille to the radiator so that you can get to all the attachments.
- Next, it is necessary to unscrew three bolts to release the housing, the location of their location is shown in the photo below.

- From the side of the wing, a screwdriver neatly comes up with a decorative pad, located below, when you release it from the retainer, you carefully decompute until it fails.
- From the bottom you will see another bolt with a head to 10, which captures the block pharmitory to the bracket, it also needs to be unscrewed.
- Next, pull out the housing forward, after which it is necessary to take up the body of the hydrocorrector and gently turn it clockwise by 90 degrees, after which this node can be removed from the housing.
Tip!
If you need to disconnect the turn signals, then everything is simple - two screws are unscrewed in the rear.
- Finally, if the glass replacement is required, then it is cleaned three latches from above and below, after which the sealant is neatly cut, the sealant is neatly cut and the damaged element is removed. After that, the ends are cleaned, a new composition is applied, on which the glass is placed and fixed by clips.
Output
As for the replacement of the bulbs, this process is very simple, more complex works are also forces even novice motorists. The video in this article will help to figure out the process very detailed.


