The generator is responsible for supplying electricity to the vehicle's engine. On the VAZ-2110 this unit is located in front of the engine, which makes it easier to access. Removing the unit and disassembling it is not difficult even for an inexperienced car enthusiast. Let's look at the main breakdowns that motorists encounter.
Generator operating principle
This unit consists of several parts:
- frame;
- rotor;
- stator;
- rectifier bridge;
- relay-regulator;
- pulley.
Thanks to the generator, the torque from the power plant is converted into electrical energy. During rotation, the rotor creates a magnetic flux, which is regulated by a relay, and the pulley carries out a belt drive. The rotor moves with the help of bearings, and when they work well, the shaft moves easily.
Another purpose of the relay regulator is to limit the output voltage in the range from 13.6 to 14.7 V. The voltage is transmitted through the commutator rings to the brushes, and the rectifier bridge is responsible for ensuring that energy is transferred in one direction.
What types of breakdowns are common?
Most often, the generator for 8 and 16 valve VAZ-2110s fails as a result of moisture and dirt. Another reason is the wear of the components of this assembly, namely the brushes. Most often, the malfunction manifests itself as follows:
- the generator does not produce electricity;
- output current is either too high or low voltage;
- During engine operation, extraneous sounds are heard, most often a squeak or squeal.
The operation of the generator is checked using special stands or a digital voltmeter. If extraneous sounds are heard in the engine compartment area, then first of all you need to check the timing belt tension. Most often this is the reason, but after checking, remove the belt from the pulley and start the engine. The absence of noise is a reason to check the performance of the generator more carefully.
How to properly remove the generator on a VAZ-2110
 If you have a power unit with 8 valves, then it is best to work from above. In the sixteen-valve version, the generator must be removed from below. To do this, first unscrew the pan. Before work, prepare several different keys. You can remove this assembly quickly if you follow the following instructions:
- De-energize the vehicle's on-board system - to do this, simply remove the negative terminal from the battery.
- Find the M10 nut on the positive stud of the autogenerator and unscrew it.
- There are wires connected to the generator on the back of the device, which must be disconnected before the next stage of disassembly.
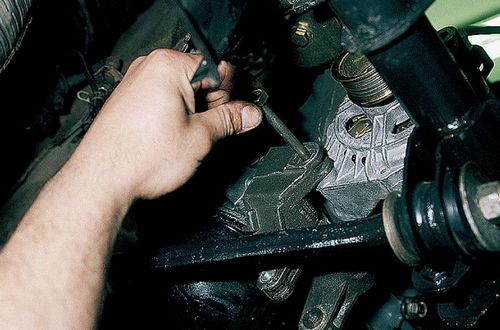
- Using a size 13 wrench, loosen the upper and lower nuts.
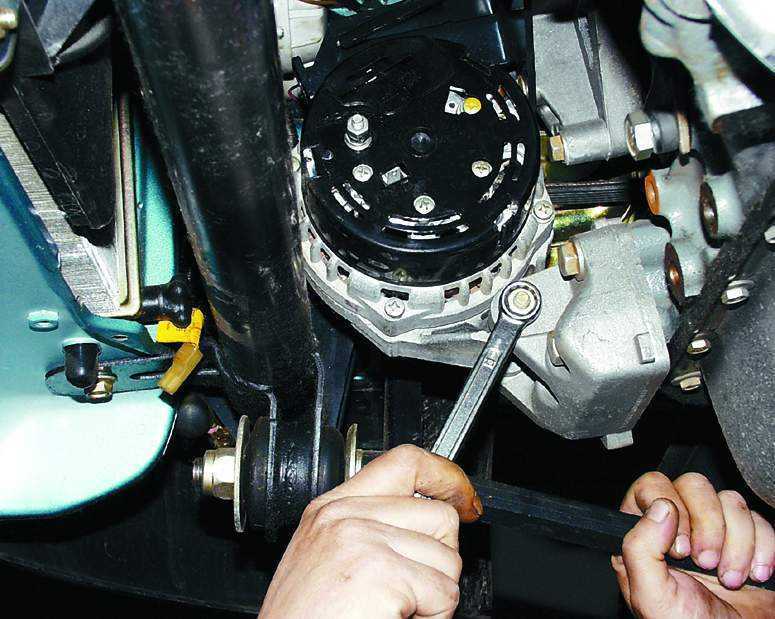
- Unscrew the tension bolt with a 10mm wrench to loosen the belt tension and remove it.
- Then completely remove both nuts (upper and lower) and remove the tension bar.
- Carefully rotate the generator at a right angle and remove it from the engine compartment.
If you want to repair this unit, you should thoroughly wipe it with a rag to remove all dirt.
How to disassemble a generator
 First, make two marks on the metal covers. This will help you later assemble the unit without problems.
- Press out the metal latches and remove the plastic cover.
- Use a Phillips screwdriver to unscrew the voltage regulator mounting screws.
- Unscrew the M10 nut. Then use a screwdriver to remove the screw and remove the capacitor.
- To remove the pulley, clamp the generator housing in a vice. Put a 21 socket on the nut, and through the hole in the head put a 8 hexagon on it. Only after you unscrew the nut can you remove the washer and pulley.
- Remove the four mounting screws to disassemble the generator into two parts.
- From the back of the housing, unscrew the screws securing the stator wire and diode bridge.
- Remove the diode bridge and the oscillator winding.
- Press the rotor out of the cover with your fingers along with the bearing.
- Carefully remove the bearing bushing.
- Take a puller and remove the bearing.


